
Managing a Facebook page often requires adding new admins to share responsibilities. Follow these steps to add a new admin easily. Here’s how:
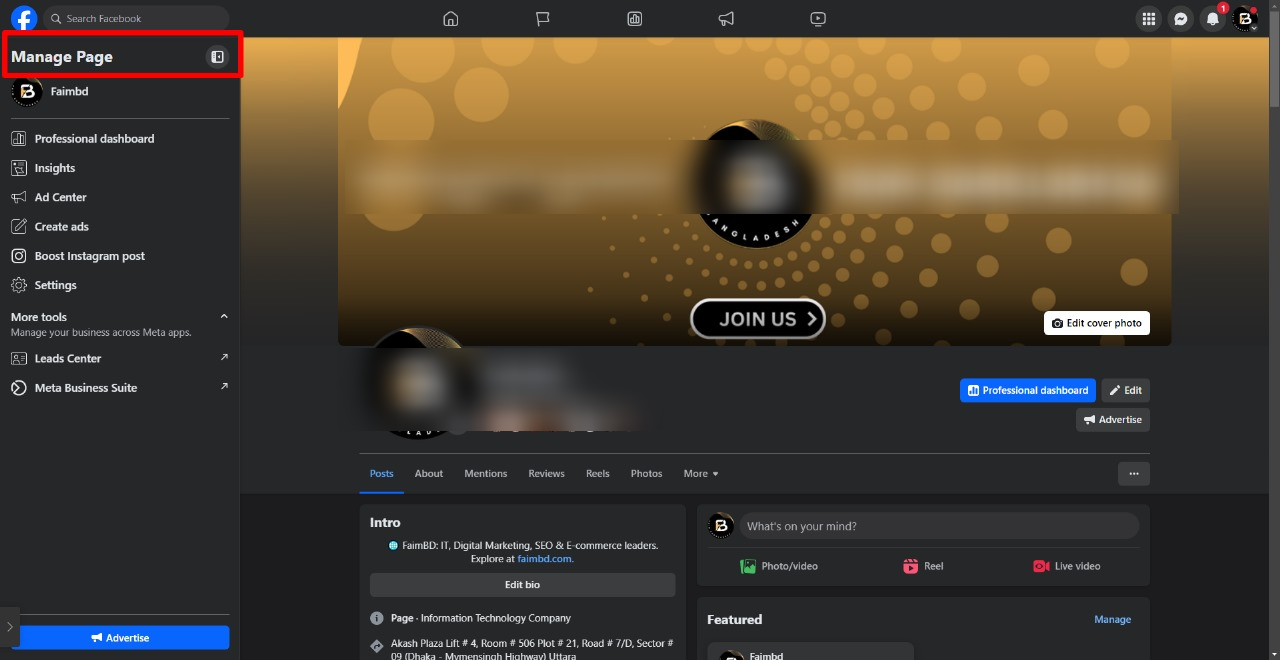
Step 1: Open Your Facebook Page
Log in to your Facebook account and open the page where you want to add a new admin. Look for the “Manage Page” option.
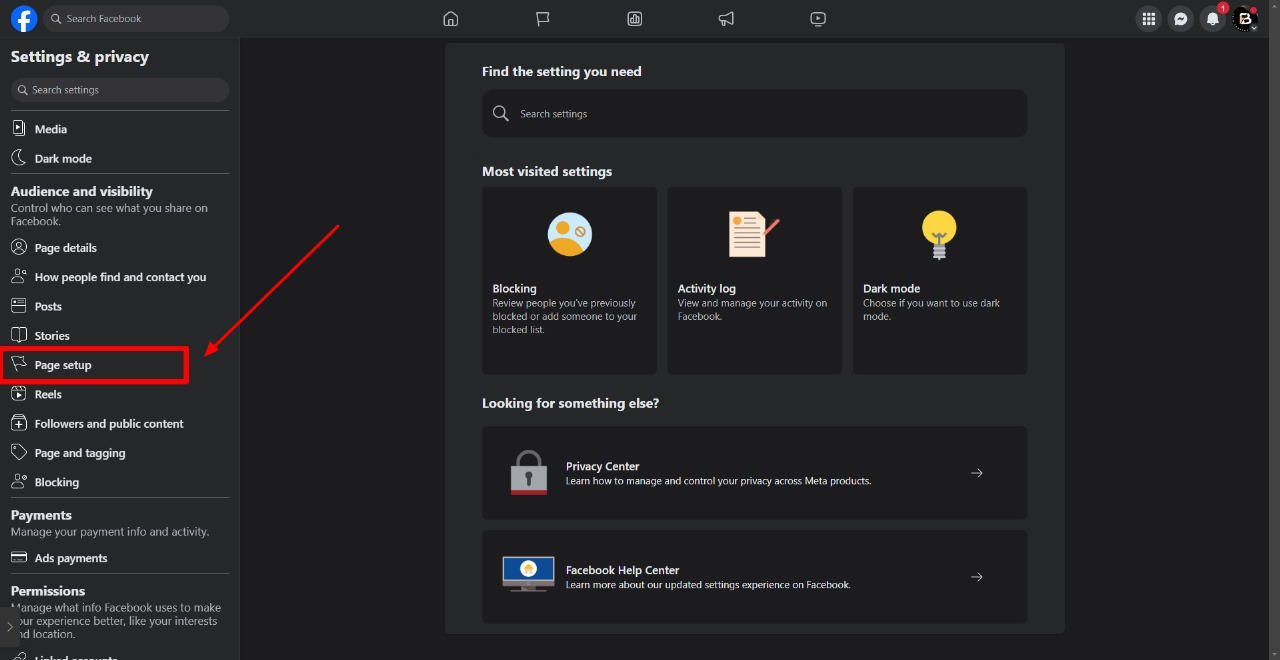
Step 2: Go to Settings
After opening the page, click the “Settings” option on the left side.

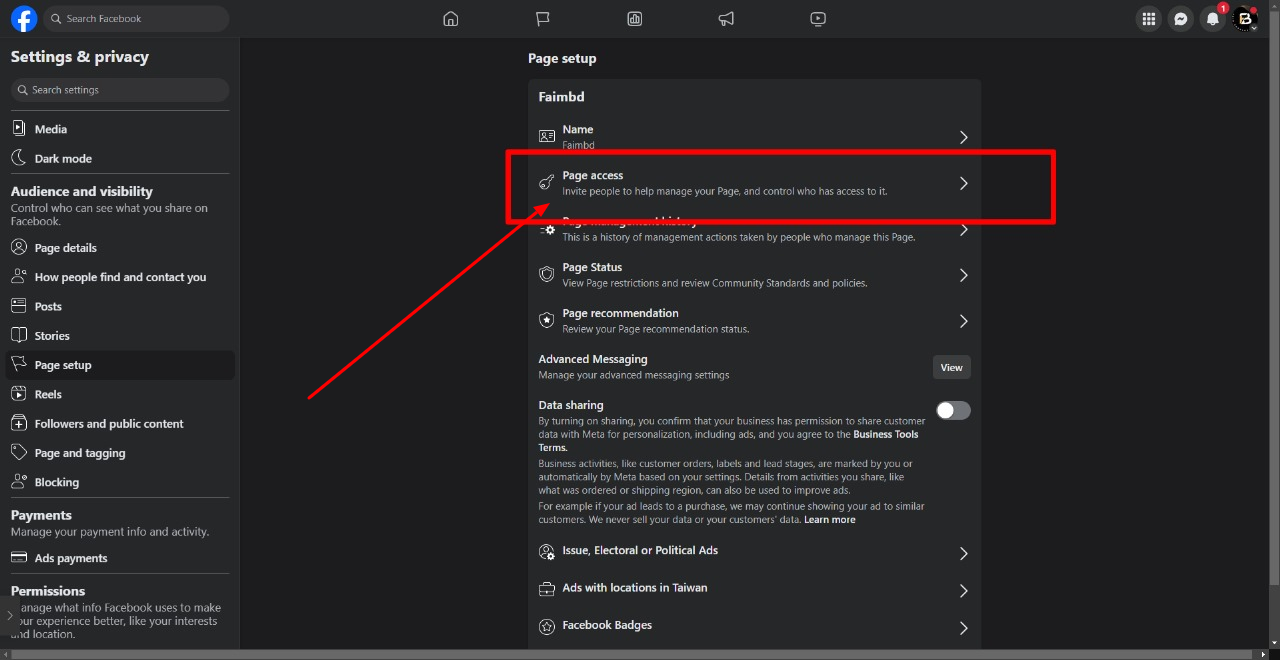
Step 3: Select Page Roles
In the “Settings” menu, click the “Page Roles” option.
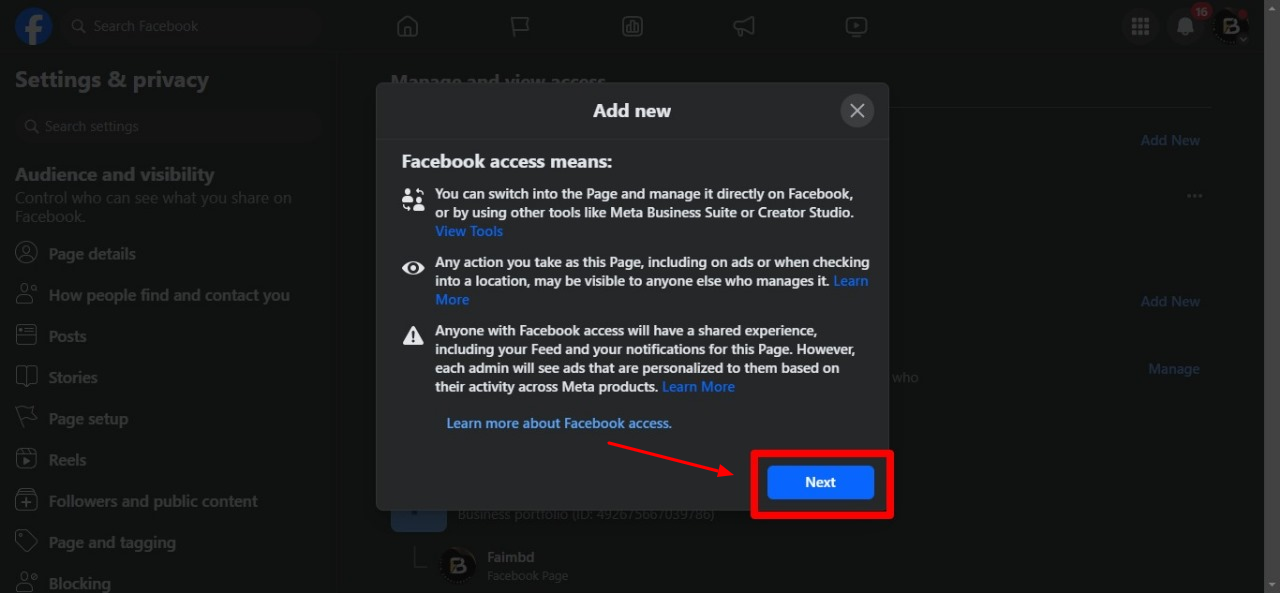
Step 4: Add a New Admin
- Go to the Assign a New Page Role section.
- Enter the name or email address of the person you want to add as an admin.
- Select “Admin” as the role.
- Click on the “Add” button.
Step 5: Confirm Your Password
While adding a new admin, you must confirm the action by entering your Facebook account password. Once you enter the password, the new admin will be added.

Step 6: Admin Confirmation
The newly added admin will receive a request in their Facebook notifications. Once they accept the request, they will be added as an admin to the page.
Essential Points to Note:
- Add Trusted Individuals Only: Ensure you add admins whom you trust completely.
- Assign Roles Accordingly: You can assign roles like Admin, Editor, Moderator, etc., based on the level of access they need.
- Change or Remove Roles: Follow the same steps to change or remove someone from the page roles.
Final Thoughts
Adding a new admin to your Facebook page is straightforward, but you must follow these steps carefully to maintain its security. You can easily manage your page admin roles by following the above instructions.